LIST OF AI IMAGE GENERATOR TOOLS FOR WEBSITES
USING AI IN GENERATOR VARIOUS IMAGE FOR A WEBSITE OR BLOG CAN SIGNIFICANTLY SIMPLIFY YOUR WORK ON FILLING THE SITE WITH CONTENT
AI LIST TOOLS FOR IMAGE GENERATION
Use Deep Art Effects to produce print-ready artwork. Utilize neural style transfer to use AI to produce neural paintings from images

DEEP ART EFFECTS
REVOLUTIONIZING AI FOR DIGITAL ART
GetIMG generated original images at scale, modify photos, expand pictures beyond their original borders, or create custom AI models
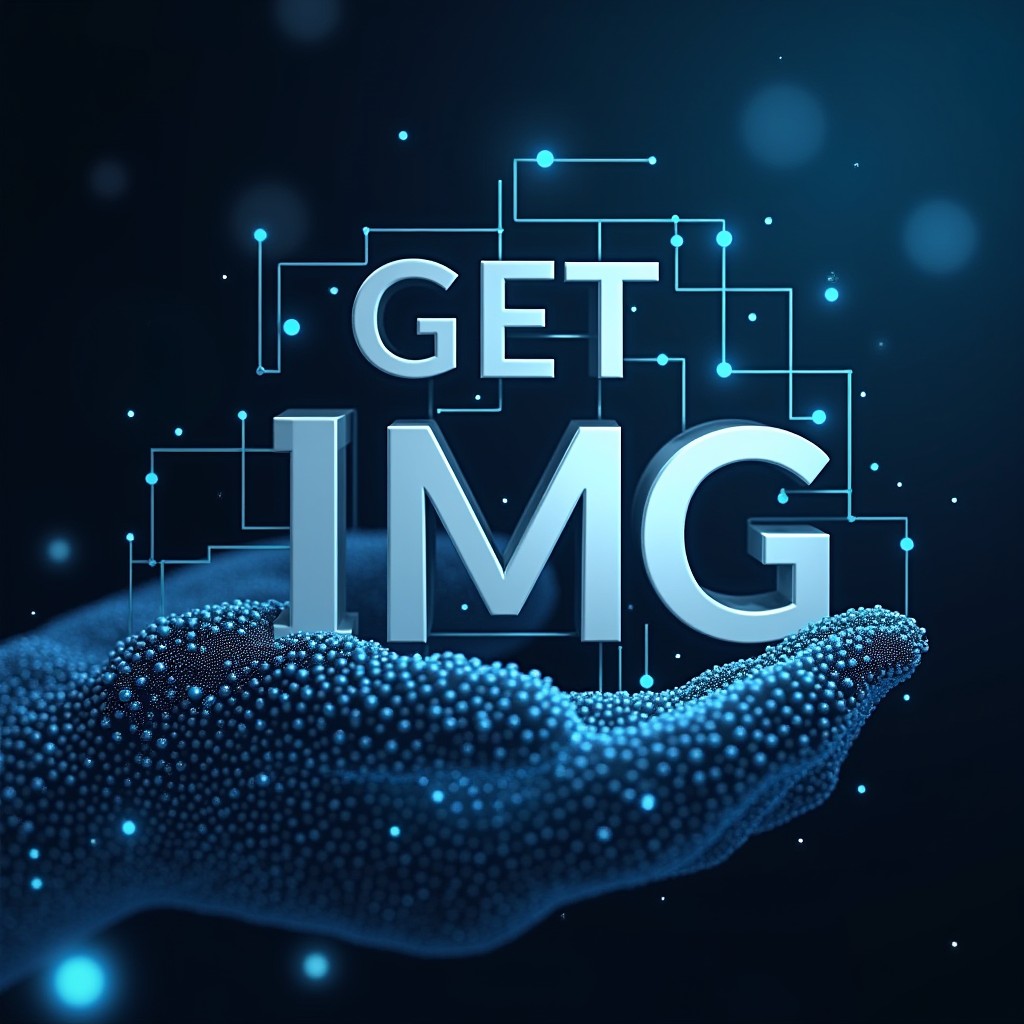
GETIMG AI
USE GETIMGS’ MAGICAL AI ART TOOLS
Make designs and images just the way you envision them. For bloggers, SEO firms and print-on-demand services, ArtSmart AI is ideal.
ArtSmart AI
ARTSMART IS IDEAL IMAGE GENERATOR
Dzine, formerly Stylar, is an AI-powered design platform that offers sophisticated functionality for picture creation and modification.
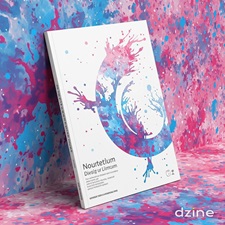
DZINE(STYLAR)
DZINE, IS AN AI-DRIVEN DESIGN PLATFORM
LimeWire – our end-to-end encrypted, AI-powered file sharing platform allows you to upload, manipulate & share files of any size, on any device.
LIMEWIRE AI
PLATFORM FOR UPLOAD, EDIT & SHARE FILES OF ANY SIZE
PromeAI – Unleashing Your Creative Potential with the Ultimate AI Art Generator. Transform sketches into realistic photos and high-quality videos.
PROMEAI
UNLEASHING YOUR CREATIVE POTENTIAL WITH THE PROMEAI
Shutterstock is best Stock Image Search – Discover stock images, vectors, and illustrations. Fresh visuals. Free editing.
SHUTTERSTOCK
AI GENERATOR AND STOCK IMAGE SEARCH – DISCOVER
With Deep Dream Generator, make amazing AI art, photos, videos in seconds! Unleash your creativity
DEEP DREAM GENERATOR AI IMAGE GENERATOR
Generate images instantly with Picsart’s free AI Image Generator. Add a text prompt, select the style, and create images instantly by text-to-image AI.
PICSART
PICSART – FREE AI IMAGE GENERATOR
DESIGN IMAGE WITH AI IMAGE GENERATOR TOOLS: A STEP-BY-STEP GUIDE
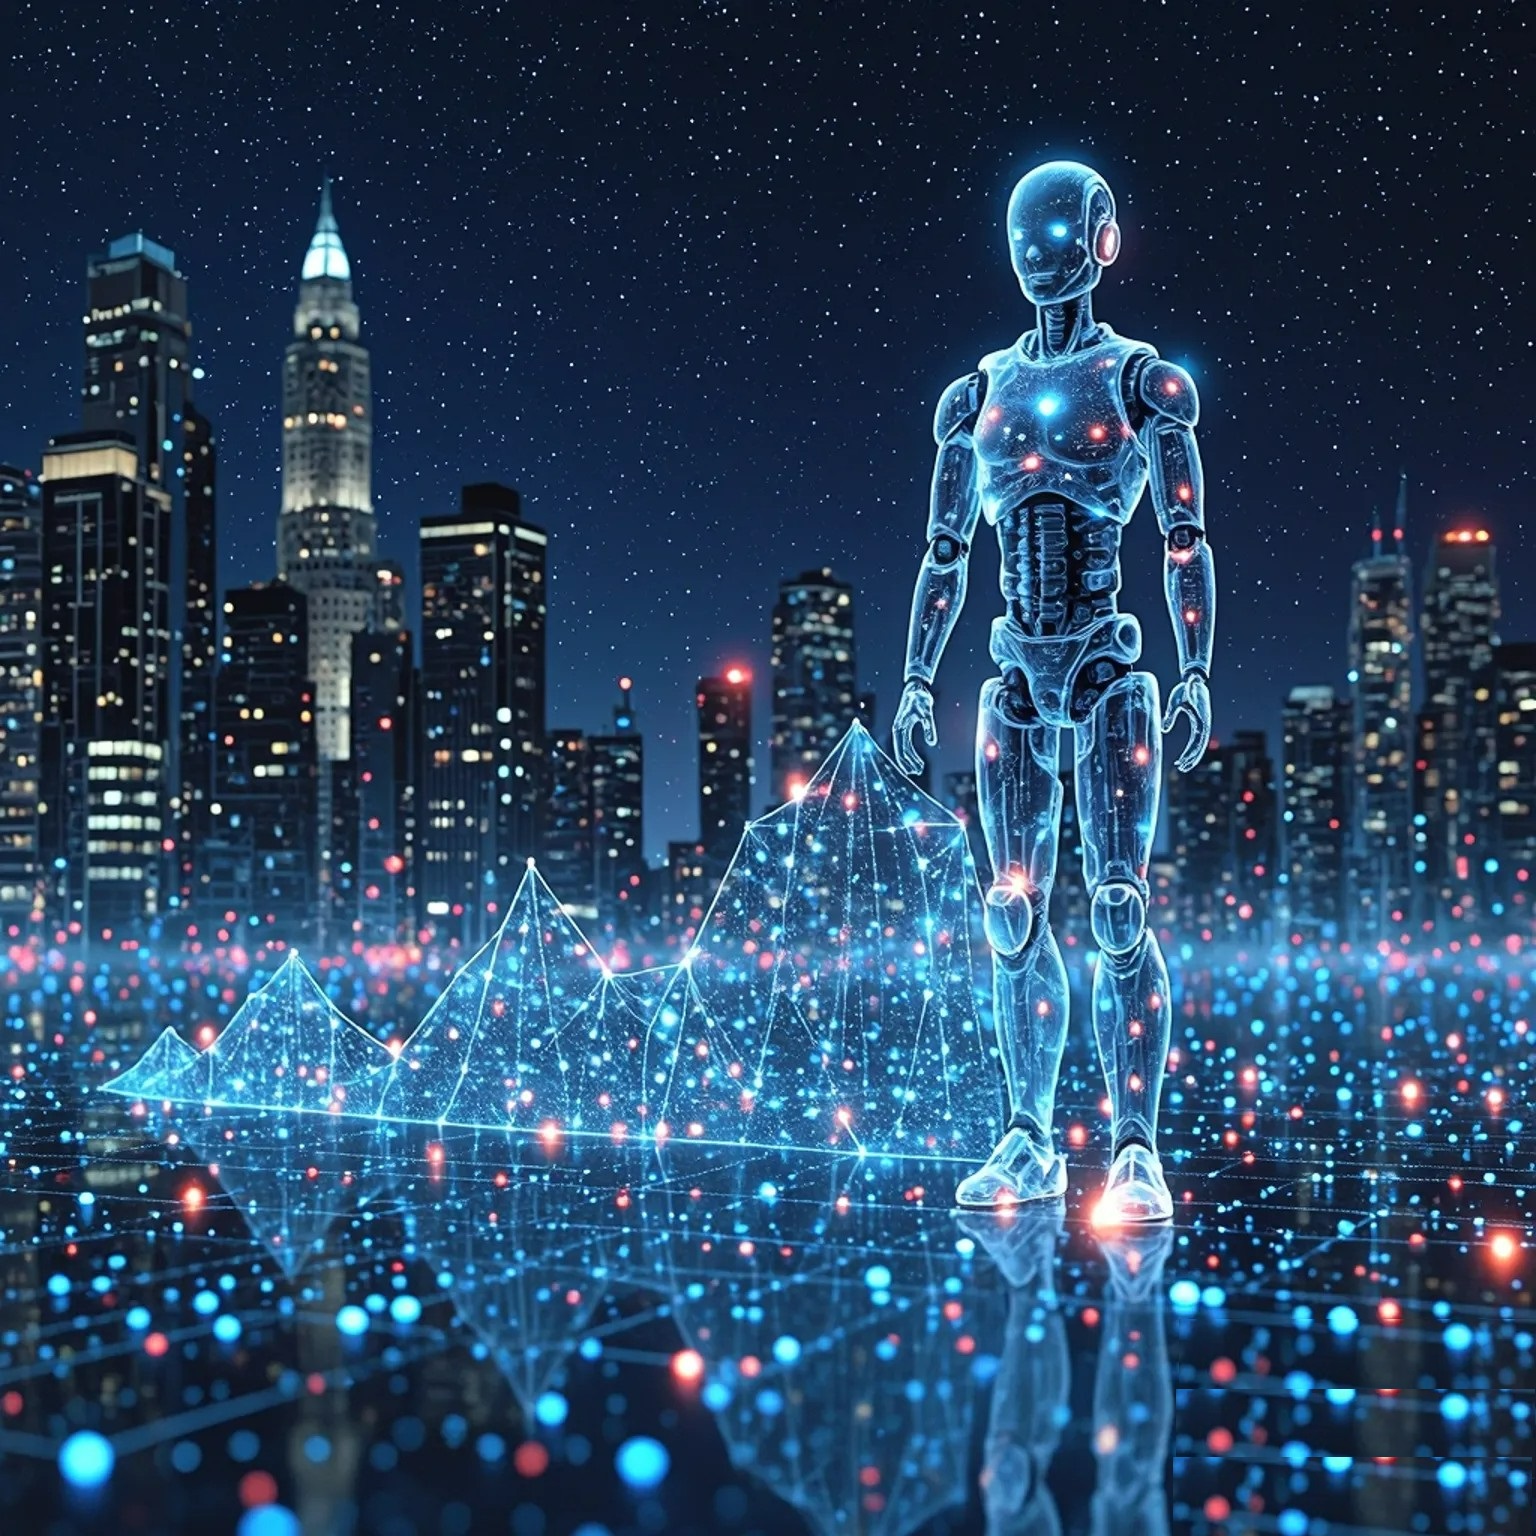
The world of digital design is constantly evolving, and at the forefront of this revolution sits Artificial Intelligence (AI). AI image generator tools have emerged as powerful allies for creators of all levels, democratizing the design process and opening up unprecedented possibilities. No longer are stunning visuals solely the domain of seasoned graphic designers; now, with a few well-chosen words and clicks, anyone can conjure breathtaking imagery, from photorealistic landscapes to fantastical illustrations, all powered by the magic of AI.
Whether you’re a marketer seeking captivating social media visuals, a blogger needing eye-catching featured images, a small business owner on a budget, or simply an individual with a creative spark, AI image generators offer an accessible and efficient pathway to high-quality design. This guide will walk you through the fascinating world of AI image generation, providing a step-by-step blueprint to design images that were once only imagined.
Why Embrace AI Image Generators for Design?
Before we dive into the step-by-step process, let’s understand why AI image generators are rapidly becoming indispensable tools for design:
- Democratization of Design: Traditionally, professional design software and skills were prerequisites for creating visually compelling content. AI image generators break down these barriers, empowering individuals without formal training to produce professional-looking images.
- Unleashing Creativity and Inspiration: Stuck in a creative rut? AI image generators can be an incredible source of inspiration. By experimenting with different prompts and styles, you can discover entirely new visual directions and unlock fresh ideas you might not have considered otherwise.
- Speed and Efficiency: Creating images from scratch, even with design software, can be time-consuming. AI generators can produce multiple image variations in seconds, dramatically accelerating your workflow and allowing you to iterate rapidly.
- Cost-Effectiveness: Hiring professional designers or subscribing to expensive stock photo libraries can be costly. AI image generators offer a more budget-friendly alternative, especially for smaller projects or individuals.
- Customization and Uniqueness: Stock photos often feel generic and overused. AI generated images are inherently unique, tailored to your specific prompts and ensuring your visuals stand out from the crowd. You have granular control over style, composition, and content.
- Overcoming Design Skill Gaps: For those lacking advanced design skills in tools like Photoshop or Illustrator, AI generators provide a shortcut. You can bypass the steep learning curve and still achieve visually impressive results.
Step-by-Step Guide to Designing Images with AI Image Generators:
Now, let’s delve into the practical steps to creating stunning images using AI tools. While the specific interfaces and features may vary slightly between different platforms, the core principles remain consistent.
Step 1: Choose Your AI Image Generator Tool
The landscape of AI image generators is rapidly expanding. Several excellent options are available, each with its strengths and weaknesses. Here are a few popular choices to consider:
- ArtSmart – Generate an entire month’s worth of website, blog and social media images in a few hours(Read More)
- PromeAI – Unleashing Your Creative Potential with the Ultimate AI Art Generator. Transform sketches into realistic photos and high-quality videos(Read More)
- GetIMG – generated original images at scale, modify photos, expand pictures beyond their original borders, or create custom AI models(Read More)
- Adobe Firefly – It can convert text to images and text to videos. It is a component of Adobe Creative Cloud and powers functions in other Creative Cloud applications, such as the Generative Fill tool in Photoshop.
- DeepArtEffects – Text-to-image AI art generators are cutting-edge tools that use artificial intelligence (AI) to turn written descriptions into visual art.
- Canva AI – integrates advanced AI models like Stable Diffusion and DALL·E 2 to enhance its already powerful design platform. Its unlimited generation capabilities and user-friendly interface make it a go-to tool for designers and marketers
- Photosonic by Writesonic – leverages custom models to generate high-quality images from text prompts. It offers unlimited image generation, making it a valuable tool for users needing consistent and diverse visual content. The platform is designed for ease of use, appealing to both novice and professional users
- Jasper Art (Jasper): Integrated within the Jasper AI writing platform, Jasper Art is a user-friendly option for marketers and content creators already familiar with Jasper’s suite of tools. It focuses on generating images for content marketing purposes.
Consider these factors when choosing:
- Ease of Use: Some platforms are more intuitive than others, especially for beginners.
- Image Quality and Style: Each generator has its strengths in terms of image quality and artistic styles it excels at. Experiment with free trials (if available) to see which aligns with your desired aesthetic.
- Pricing and Credits: Most AI image generators operate on a credit-based system. Understand the pricing structure and credit consumption for image generation. Some offer free tiers or trials with limited credits.
- Desired Output Style: Are you looking for photorealism, artistic styles, illustrations, abstract art, or something else? Different tools may be better suited for specific styles.
- Integration with other tools/workflows: If you are already using other design or content creation tools, consider if the AI generator integrates seamlessly with your existing workflow.
Step 2: Understand the Interface and Basic Features
Once you’ve chosen your tool, familiarize yourself with its interface. Most platforms share common elements:
- Prompt Box: This is where you’ll type your text description or “prompt” detailing the image you want to create.
- Style Options (Optional): Many tools offer pre-set style options (e.g., “photorealistic,” “painting,” “digital art,” “anime,” etc.) to guide the AI’s artistic direction.
- Aspect Ratio/Image Size Settings: You can typically specify the desired aspect ratio (e.g., square, landscape, portrait) and sometimes the image resolution.
- Negative Prompts (Optional): Some advanced tools allow you to use “negative prompts” to specify elements you don’t want in the image. This provides finer control.
- Generation Settings (Advanced): More advanced platforms may offer settings like “guidance scale” (influences how closely the AI adheres to your prompt) or “seed” (for generating similar images).
- Image Grid/Gallery: After generating images, they are usually displayed in a grid or gallery where you can review, download, and often iterate further.
Step 3: Craft a Detailed and Effective Prompt
The prompt is the heart of AI image generation. The quality and detail of your prompt directly impact the results. Think of it as giving instructions to a highly skilled artist. The more specific and descriptive you are, the better the AI can understand your vision.
Key Elements of a Strong Prompt:
- Subject: Clearly define the main subject of your image (e.g., “a majestic lion,” “a futuristic cityscape,” “a portrait of a woman”).
- Style: Specify the desired artistic style (e.g., “photorealistic,” “impressionist painting,” “cartoon style,” “cyberpunk”). You can also mention specific artists or art movements (e.g., “in the style of Van Gogh,” “like a Studio Ghibli animation”).
- Medium: Indicate the desired medium (e.g., “photograph,” “oil painting,” “watercolor,” “digital illustration”).
- Setting/Environment: Describe the environment or background (e.g., “in a lush jungle,” “on a moonlit beach,” “against a minimalist white background”).
- Mood/Atmosphere: Convey the desired mood or emotion (e.g., “dramatic,” “serene,” “playful,” “mysterious”).
- Lighting and Color Palette: Specify lighting conditions (e.g., “golden hour lighting,” “soft studio lighting,” “neon lights”) and desired color palette (e.g., “vibrant and colorful,” “muted pastel tones,” “monochromatic”).
- Compositional Elements: Consider elements like perspective, framing, and depth of field (e.g., “wide-angle shot,” “close-up portrait,” “low angle perspective”).
Example Prompts:
- Simple: “A cat sitting on a window sill.”
- More Detailed: “A photorealistic image of a fluffy Persian cat with blue eyes, sitting on a wooden window sill covered in morning dew, soft, natural lighting, shallow depth of field.”
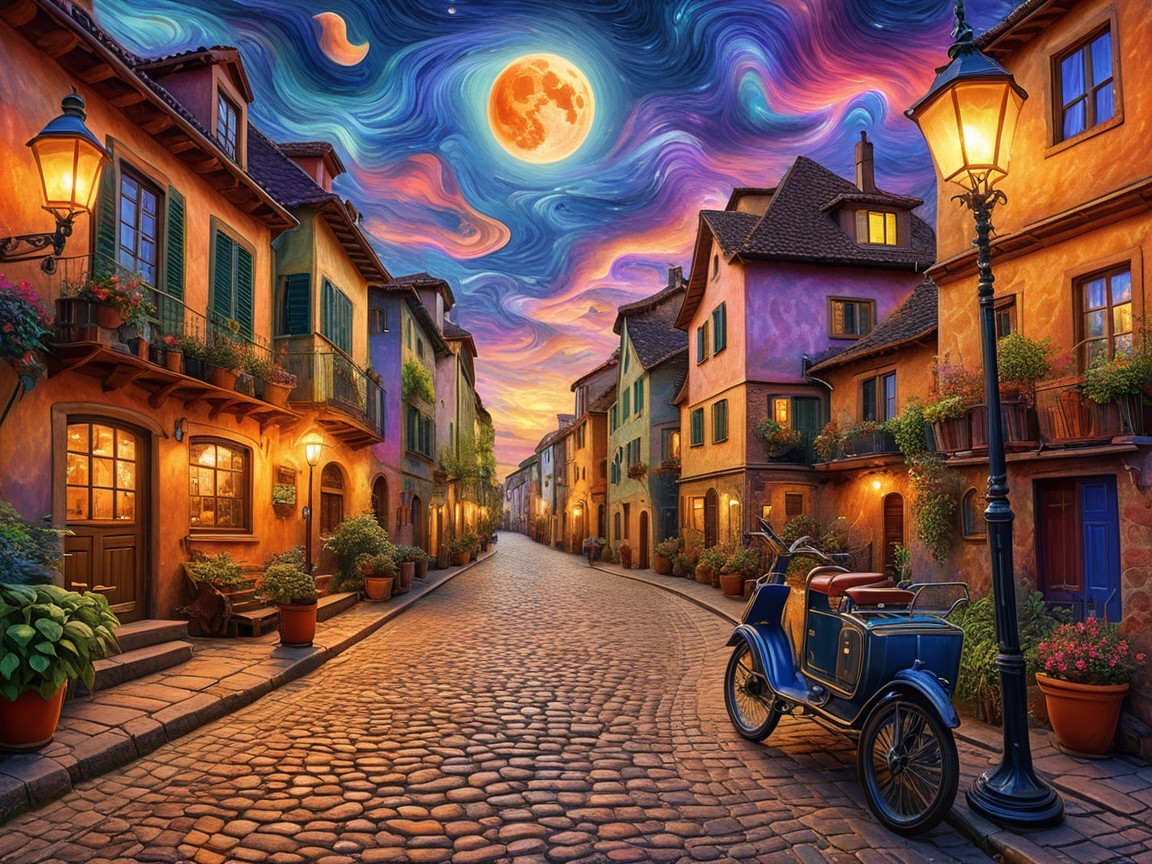
- Stylized: “An impressionist oil painting of a Parisian cafe at night, vibrant colors, brushstrokes visible, warm, inviting atmosphere.”
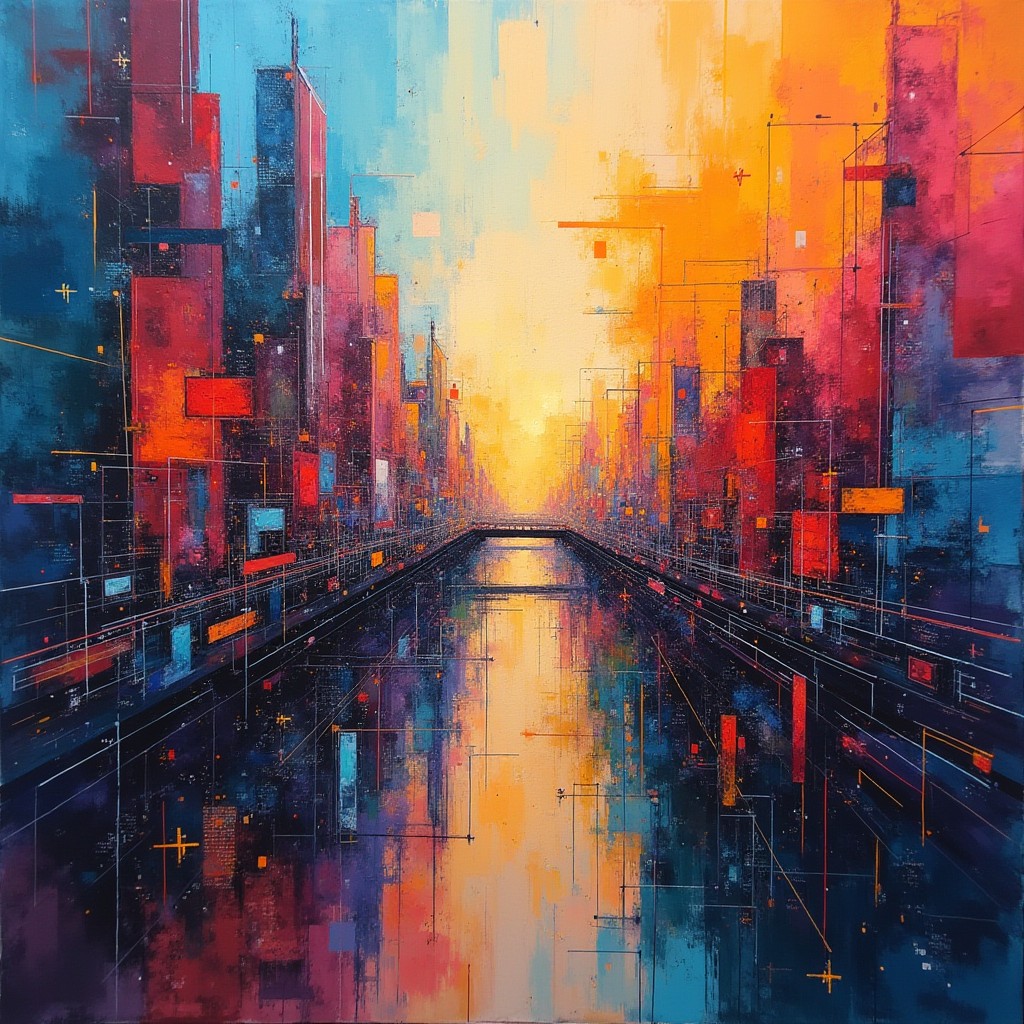
- Abstract: “Abstract digital art, swirling neon colors, geometric shapes, futuristic, high energy.”
Step 4: Generate and Iterate
Once you’ve crafted your prompt, hit the “generate” button. The AI will process your request and produce a set of image variations (typically 2-4 at a time).
- Review the Results: Carefully examine the generated images. Do they align with your vision? Are there aspects you like or dislike?
- Refine Your Prompt: The beauty of AI image generation lies in iteration. If the initial results aren’t quite what you wanted, don’t be discouraged. Go back to your prompt and refine it.
- Be More Specific: Add more descriptive words, details, or constraints.
- Experiment with Styles: Try different style presets or artistic references.
- Use Negative Prompts (if available): Specify what you don’t want to see.
- Adjust Settings: If the platform offers advanced settings, experiment with parameters like “guidance scale” or “seed.”
- Generate Again: Submit your refined prompt and generate new images. Repeat this process of refining and regenerating until you achieve the desired outcome.
Step 5: Refine and Enhance (Optional)
After generating an image you like, you can further refine and enhance it:
Upscaling: Many AI image generators offer upscaling features to increase the resolution of your image without losing quality, making it suitable for larger displays or printing.
Inpainting/Outpainting (Advanced): Some advanced tools allow you to selectively edit parts of an image (inpainting) or expand the image beyond its original boundaries (outpainting).
Post-Processing: You can import your AI-generated image into photo editing software like Photoshop, GIMP, or online editors like Canva to further enhance colors, adjust contrast, add text, or make other final touches.
Tips for Successful AI Image Generation:
- Start Simple and Gradually Increase Complexity: Begin with simple prompts to get a feel for how the AI responds. Gradually add complexity and detail as you become more comfortable.
- Experiment and Play: Don’t be afraid to experiment with different prompts, styles, and settings. The more you explore, the better you’ll understand the tool’s capabilities and limitations.
- Use Keywords Effectively: Think about relevant keywords that describe the visual elements you want. Use strong verbs and descriptive adjectives.
- Study Examples and Prompts: Look at examples of AI-generated art online and study the prompts used to create them. This can give you inspiration and ideas for your own prompts.
- Be Patient and Persistent: AI image generation is not always instantaneous. It may take some experimentation and iteration to achieve the perfect result. Don’t give up easily!
- Consider Ethical Implications: Be mindful of copyright and usage rights associated with AI-generated images. Understand the terms of service of the platform you are using.
Conclusion: Embrace the AI-Powered Design Revolution
AI image generator tools are revolutionizing the creative landscape, empowering individuals to design stunning visuals with unprecedented ease and speed. By following this step-by-step guide and embracing experimentation, you can unlock the power of AI to bring your creative visions to life. Whether you’re a professional designer or a complete beginner, these tools offer a thrilling new frontier in digital creativity, making high-quality design accessible to everyone. So, dive in, explore, and unleash your imagination with the incredible potential of AI image generation!